Hi there! If you are a regular reader of my website, you will know I am an English language teacher at the secondary compulsory education level. Using new digital tools, I enjoy producing new and engaging activities on the new content to enhance their learning process. In this post, I would like to share the process I went through to create a Virtual Tour.
Creating a virtual tour for my students to practice writing descriptions.
Designing my last Learning Situation for the first-grade (CSE) (1) students at my school, I created a virtual tour as an interactive activity because we wanted to learn about writing descriptive texts differently from the typical book approach. The main goal was to use a virtual tour to help my students describe the interior of a bedroom. I did this in order to help them acquire English as a Foreign Language competencies 3 and 5 from Decree 175/2022 (Catalan Decree).
How could I show my students that the writing of a description affects the feeling of the reader/hearer, depending on how it is written?
I needed my students to experience the different results we can get depending on how we describe a room. I knew I wanted to offer them four types of descriptions, including at least one erratic, chaotic way of describing a room. My virtual tour also had to provide my students with different media files. Those files would hold a collection of items that could be useful in writing a room description. Let’s look at the four steps I took to make my virtual tour.
1. Planning the Virtual Tour experience.
Planning helps me foresee the final product I will get from any process. Therefore, the first step I did was to try and answer the following list of questions:
- What did I want to design? A school, home, or museum?
- What did I want my students to feel? Impressed, curious, excited?
- What did I want my students to learn? The theory of descriptive texts? The grammar form of Present simple verbs? Vocabulary? Would I offer them different patterns for describing rooms? How many?
- What kind of files was I going to be using? Where will I get them?
- Which platform would be the best for uploading my virtual tour?
If you fail to plan, you are planning to fail.
In my case, these questions were very useful in preventing me from including new ideas, which could have caused the whole project to fail.
2. Designing the equirectangular scenes.
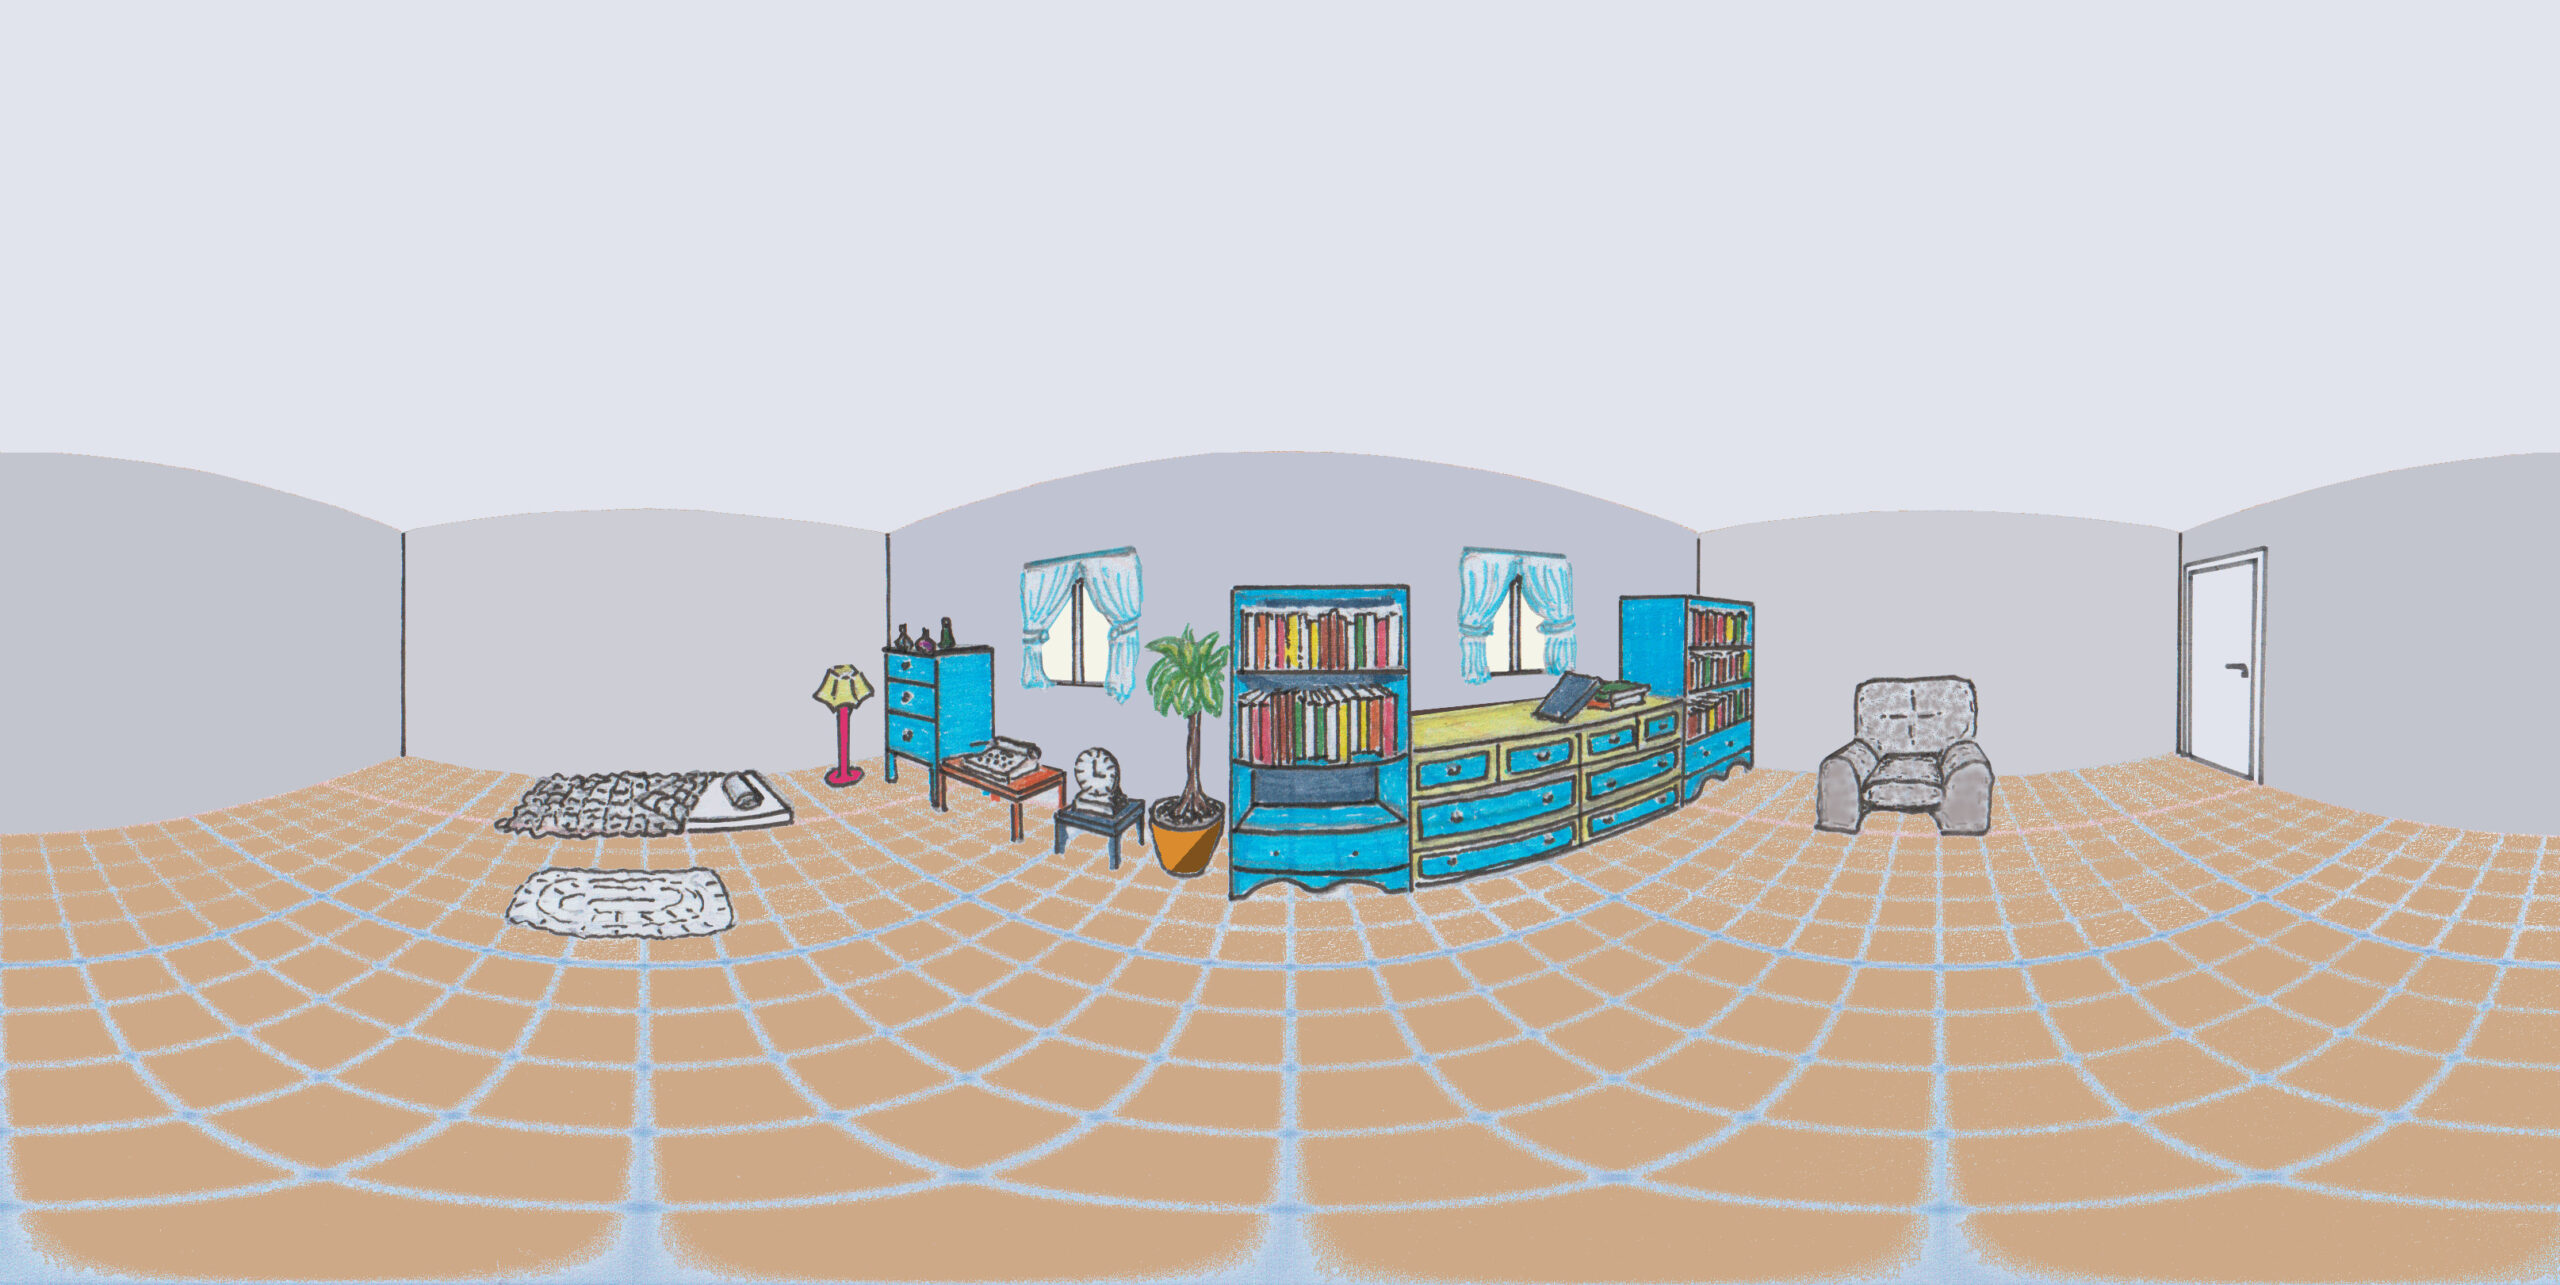
Since I don’t have a special camera to take 360-degree pictures, I decided to draw the scenes. In my experience, the importance of the equirectangular scenes is to bring consistency to the whole virtual tour. So, with trial and error, I drew multiple versions of my scenes until I ended up with the ones I was happy with.

What comes first in a song, the music or the lyrics? What comes first in a virtual tour, the pictures or the information you want your visitors to interact with?
I knew that my students needed some examples of writing a description of a room in order to understand that there isn’t only one type of valid description text. Descriptions are personal, so we make choices when we describe. We decide where to start, what to highlight, and where to end our descriptive guide of the place in question.

First, I visualized the four types of rooms I wanted to describe. I drew the rooms using a grid(2). After the drawing process, coming up with the descriptive texts was easy. The example below refers to the picture above.

3. Uploading and connecting the Scenes.
Some websites(3) allow you to upload and connect scenes to build your virtual tour.
To pay or not to pay, this is the question.
Some offer their services free of charge, and others have their pricing policies. The platform I used this time is Theasys.
Once on the Theasys platform, although the learning curve for using it could be exponential, the distribution and characteristics of the functions and commands are more or less the same as in any other drawing digital software. You can finally get a more than acceptable virtual tour using the basic features.
4. Spicing it up with multimedia files.
Once I got all my texts ready to upload, I used an AI(4) to convert all the descriptions into audio. This way, I could ensure all my students had different media files to approach the content in the way that best fits their learning skills. Providing the virtual tour with different media types will make your activity much more engaging and show that you are considering different variables to cope with a good UDL activity.
The final version of my virtual tour.
Here, you can access the virtual tour so that you will see all the ingredients mentioned in action:
I hope you like it. Use the form below to contact me to suggest changes to this post or learn more about a specific section.
Thanks for reading.
Notes:
- CSE stands for compulsory secondary education. In Spain, it is known as ESO.
- This is the address where I got the grid from which to draw the equirectangular panoramas: https://dmswart.com/2016/06/28/drawing-a-panorama/
- Some platforms that allow you to upload your virtual tour content on the internet are the following: – https://www.3dvista.com/es/ – https://ggnome.com/pano2vr/ – https://kuula.co/ – https://matterport.com/es – https://www.marzipano.net/ – https://www.cospaces.io/ – https://www.theasys.io/
- An accessible website that allows you to convert text to speech for free is this one: https://www.naturalreaders.com/online/
Webography:
- What is a virtual tour? https://en.wikipedia.org/wiki/Virtual_tour
- The platform I chose to upload my virtual tour: https://www.theasys.io/
- Catalan Decree 175/2022: https://xtec.gencat.cat/web/.content/curriculum/eso/curriculum-175-2022/Llengua-estrangera.pdf
